2011 was a big year for me.
I graduated high school, started college at UMass Amherst, met my college friend group who I’m still close with today, and learned what it’s like to be an independent “adult” (I put that word in quotes because at the time, I thought I knew what it meant to be a responsible grownup. Boy, was I wrong).
But 2011 was also the year I hit another important milestone: It was the year that I started continuous glucose monitoring. Shout-out to my scarcely-used Facebook page for reminding me of that!
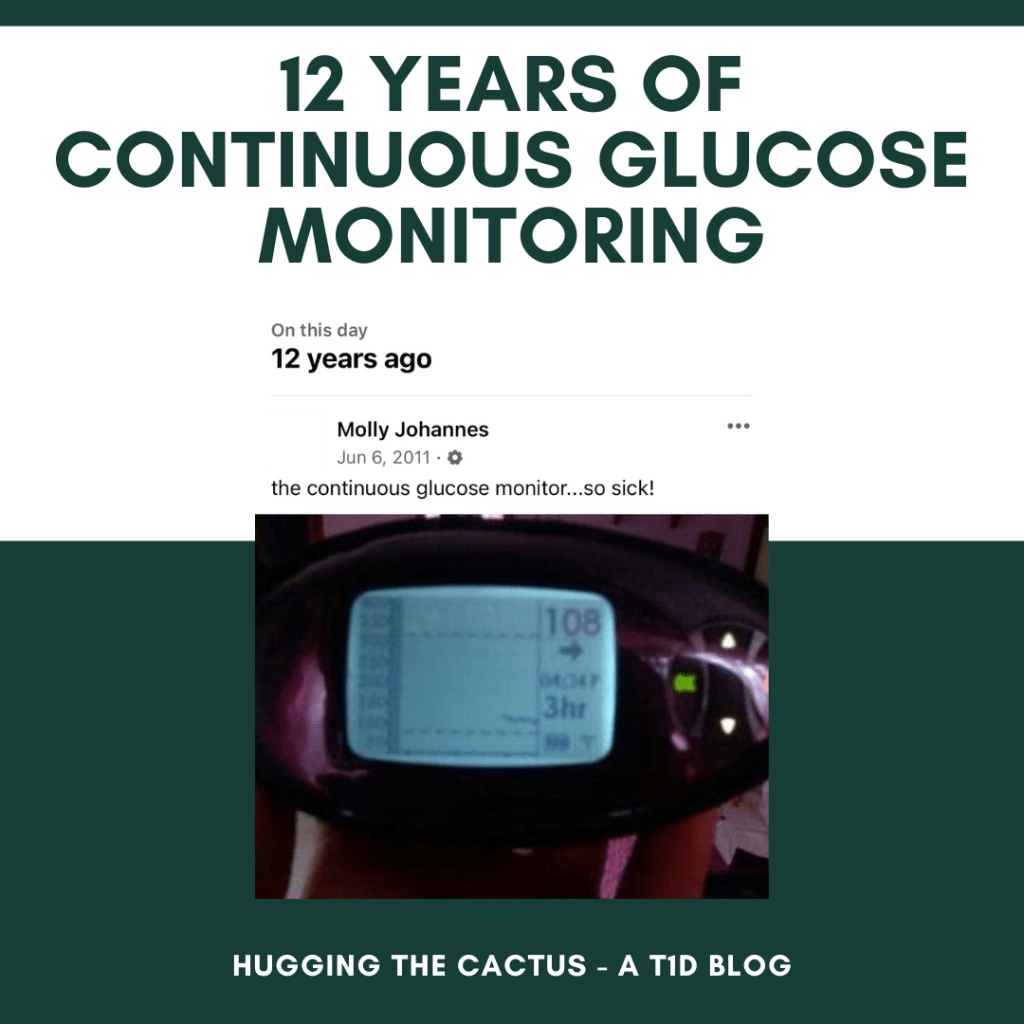
In addition to getting a kick out of how I just had to tell the word that my new device was “so sick!”, I’m glad that this reminder popped up the other day because it marks the point along my diabetes journey in which I finally decided to give technology a try. From roughly 1997-2011, I was firmly against any and all diabetes technology. I’m not sure why, other than I was terrified to try something new and surrender control to someone (let alone something) that wasn’t me or my mom. I also can’t quite remember why I decided that moment in time was right for me to try a CGM – perhaps it was motivated by my transition to college, or maybe I was just intrigued by the technology? – but I am so, so glad that I did.
I’m grateful to my 18-year-old self for making this choice because it opened the door to diabetes technology for me. Until the first time I put a CGM sensor on, I had no idea what I was missing out on in terms of access to data (meaning my blood sugar levels). I didn’t realize how powerful this information would be or how it would be a helpful little sidekick conveying information to me about my diabetes every day and night. I don’t think I can quantify the number of times this thing – and we’re talking the Dexcom G4, which had a long way to go compared to today’s G7 in terms of reliability and wear – truly saved my butt and improved my overall time in range by alerting me to highs and lows.
All that said, I don’t regret not trying technology sooner. I do believe that it was important for me to introduce myself to it when I truly felt ready. If anything, I’m proud of myself for trying a CGM, and then eventually an insulin pump, in my own time. It just means that I appreciate both of these tools and what they do for me on a daily basis that much more, because I remember all too well what life was like before them. And there was a serious difference! I can’t say that I love having two devices on my body at all times, but I can 100% attest to the fact that they’ve improved my quality of life with diabetes, hands down.
So better late than never, but today, I’m giving myself a little pat on the back for being brave 12 years ago and taking that initial first step in changing up the components in my diabetes care toolkit.